More Filing!
Nic and Ian spent the morning finishing off their mini bike frames and seeing as I was at a bit of a loose end, I asked it I could use a few off-cuts of smaller tubes to make the rear triangle for mine. Not as easy as it sounds as the angle and off-set, combined with two different diameters of tubing makes for a very odd-shaped mitre.
Here are a few pics of the gentlemen filing their tubes:
Nick Filing

Ian Filing
Here are two of the back tubes with my frame, along with my first bit of tack brazing (see below):

We also chose the tubing, lugs, dropouts, forks etc for our actual frame. I had previously wanted to build mine in Reynolds 853 but was convinced in the end to opt for the 631 as it's easier to braze for a first-timer and is also perhaps better suited to my bike design. I've also opted to go entirely for fillet-brazing (instead of using lugs) to join the frame tubes together. The only lugs will be the fork boss and a bit of steel around the top of the seat tube which I'll hand-cut to shape before attaching the seat bolt braze-ons, attaching it to the main seat tube and then cutting the notch in it to allow it to clamp the seat post in place.
Here is my bike frame in IKEA format:


Once all that was sorted out for the three of us, I had another look at my bike frame design which Brian (our teacher) had tweaked a little. He'd managed to get the head tube a little longer by reducing the number of spacers on the stem and shortening the stem a little. Also setting the length of the forks to give enough space for a 700x25c tyre and mudguards ended up shortening them which gave valuable millimeters to the head tube:

I need to get a copy of this software and play around with it so that I can find all the important bits and understand what the implications are of changing each detail.
The last part of today was learning how to braze. We started off by brazing the water bottle bosses to the downtubes of our mini frames - so far so good! I made sure that mine were correctly spaced at 65mm:

Don't worry about all the discolouration around the holes - it's just flux which washes away in water. Then we did some tack-brazing - basically tacking a few tubes together. It's reasonably easy once you get the knack so you don't burn the tubing, but there are subtleties which I won't waste your time with!
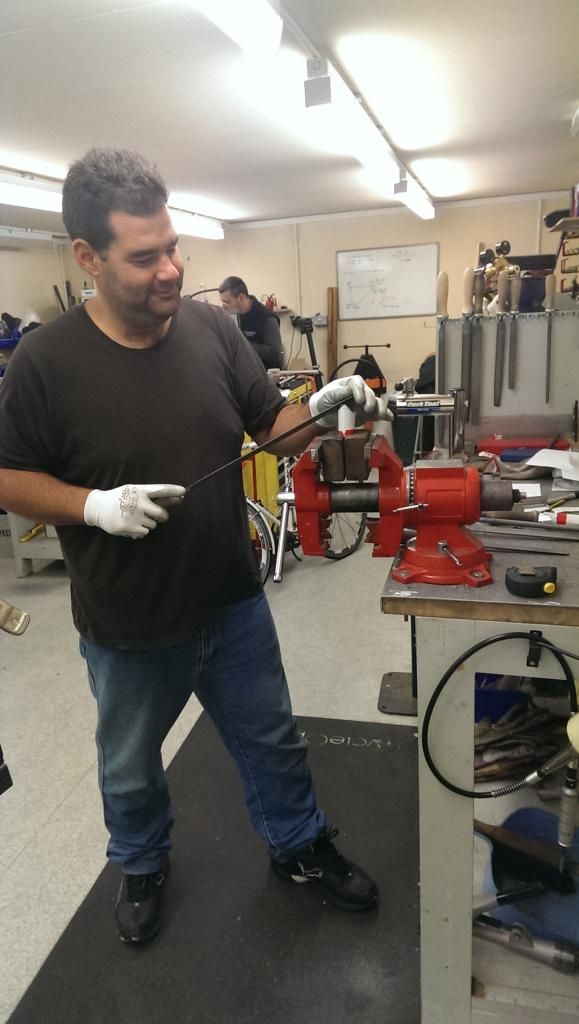
Me brazing:

After a reasonably full day, Nick ad I took Brian's Garmin device and one of his very nice bikes out for a 22km bike ride out in the countryside of Kent. What a beautiful part of the world - very nice little roads and villages. Saw a fox out hunting the pheasants:

I think we're beginning to file the seat tubes of our actual frames tomorrow - very scary stuff. One thing I learned is that seat tubes have a top end and a bottom end - or more accurately, that it matters which one's which. The seat post will only slide in on one end so when cutting it to size you have to be a bit careful that you cut the right end so that you can get your seat post all the way into it..... What doesn't help is that tube manufacturers don't have a standard notation for the end you cut - some of them put a saw symbol to tell you to cut - others put a saw symbol to tell you not to cut... Great. Always slide your seat post in before reaching for your hacksaw!
No comments:
Post a Comment